Here is how I do them...
 |
| Start out with a corner or place that you would like to put your pom-pom |
 |
| I take a regular 3x5" index card. I usually stack 5 or so of them so that it does not bend as easily! |
 |
| I generally wrap it around about 30 times, I try to make them exact but that does not always work out so well! I do not know about you but I am NOT counting after this point! |
 |
| After you trim the piece you are wrapping, cut a piece of the same yarn that is about 8-10 inches long... Set this piece in the center underneath the wound up yarn. |
 |
| Make a tight and secure knot around the center. |
 |
| Fold the pom-pom in half with the knotted end in your hand. |
 |
| Clip through all of the looped ends, I usually stick the scissors in one end and cut one half of the pom-pom at once. |
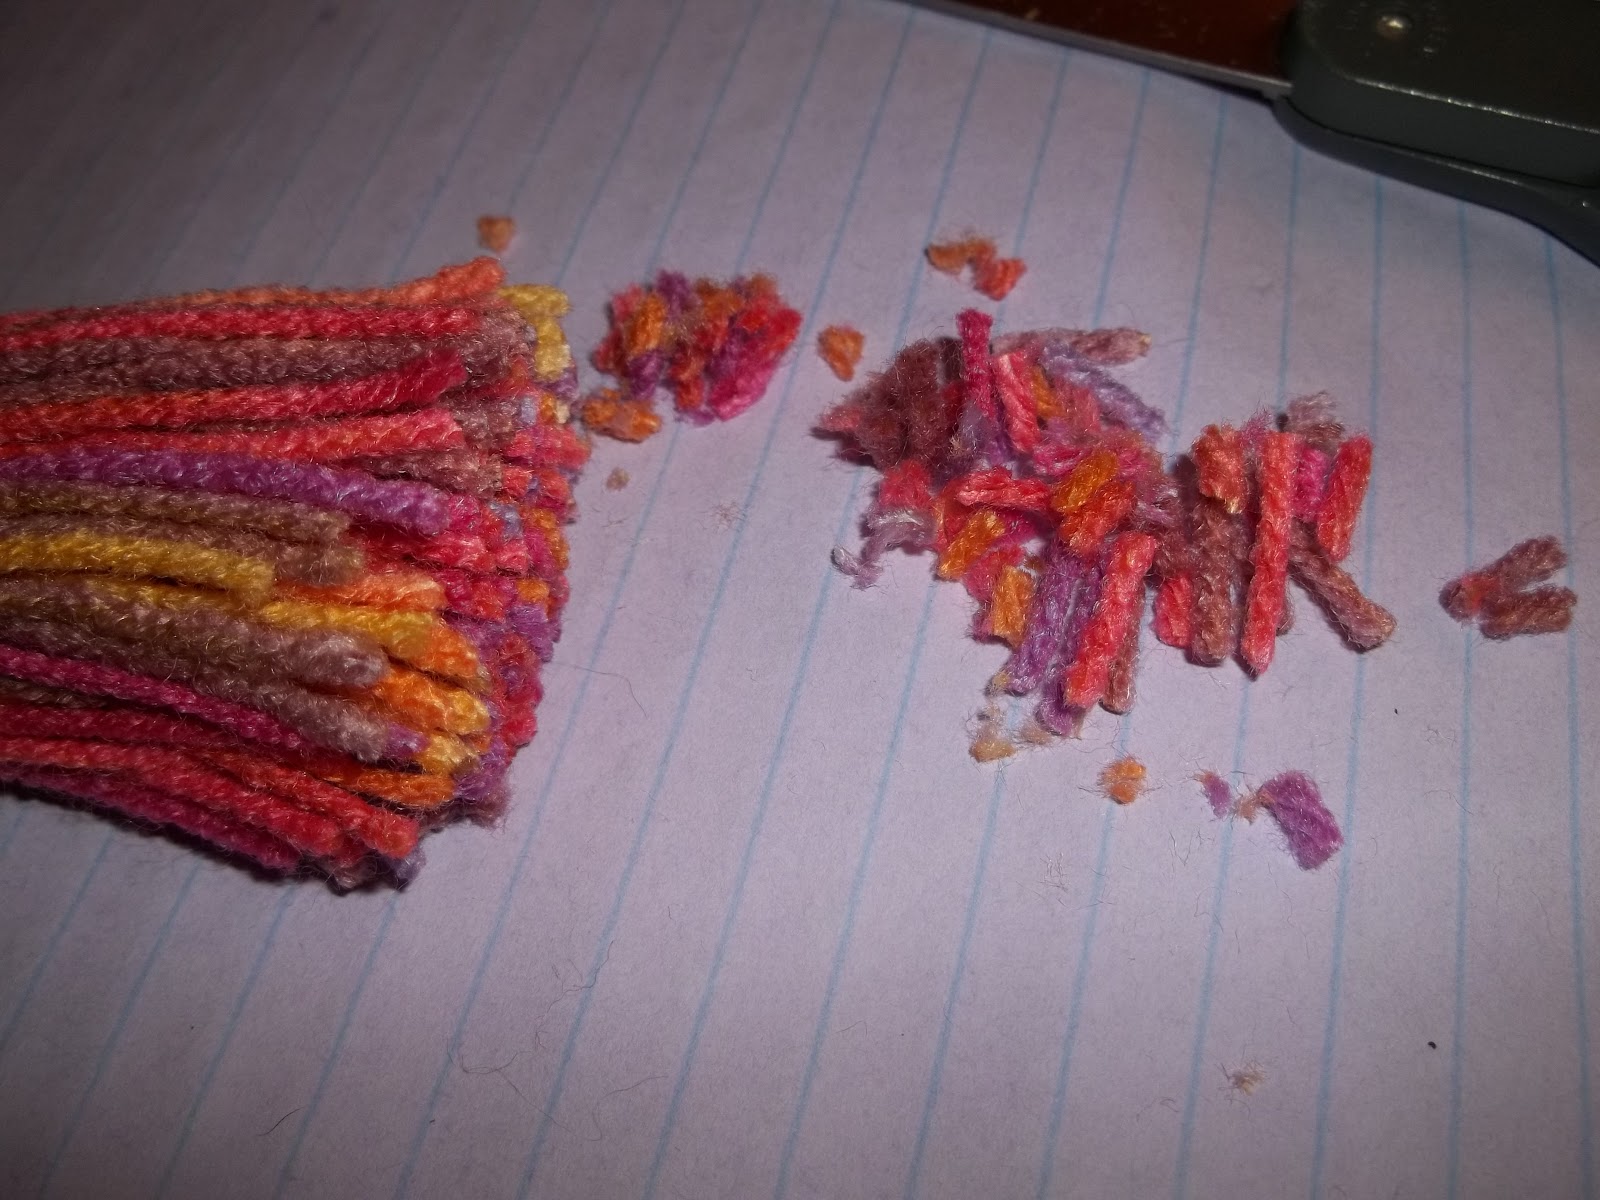 |
| Hold the knotted end in your hand again, this time a little closer to the cut ends and trim so that the ends are close to even, there is no reason to make sure that they are exact. |
 |
| Tie your pom-pom to your project and weave in the extra ends. I make sure that all of this is done on the inside so no one else has to see it! |
<3 We will be posting more tutorials soon!
Teri
This is so fun to make and is adorable. Thanks for this pattern! :D
ReplyDeleteThis looks like a great way to do pom poms, I'm definitely going to give it a go! Thank you.
ReplyDelete